Making a new boom slider
I decided that my mainsheet could do with a second slider on the boom to keep it out of my way. The existing Kirby Sheeting set up has one already, so here is a quick post about making the new one.
For the usual Solo booms (mine is a Selden) the track underneath doesn't have much depth to it, so you need a bit of plastic only 2mm thin. The slider I made is 18mm wide and 50mm long (the width is important for fitting in the track of course). I drilled a couple of 4mm holes in it for the 2mm string (3mm string may also work) to hold the loop to the slider.
I cut and shaped the slider using a table-mounted angle grinder in the Solo Scribbles workshop, but a hacksaw and file would also do - the plastic is not hard to cut.

and I ended up with this:


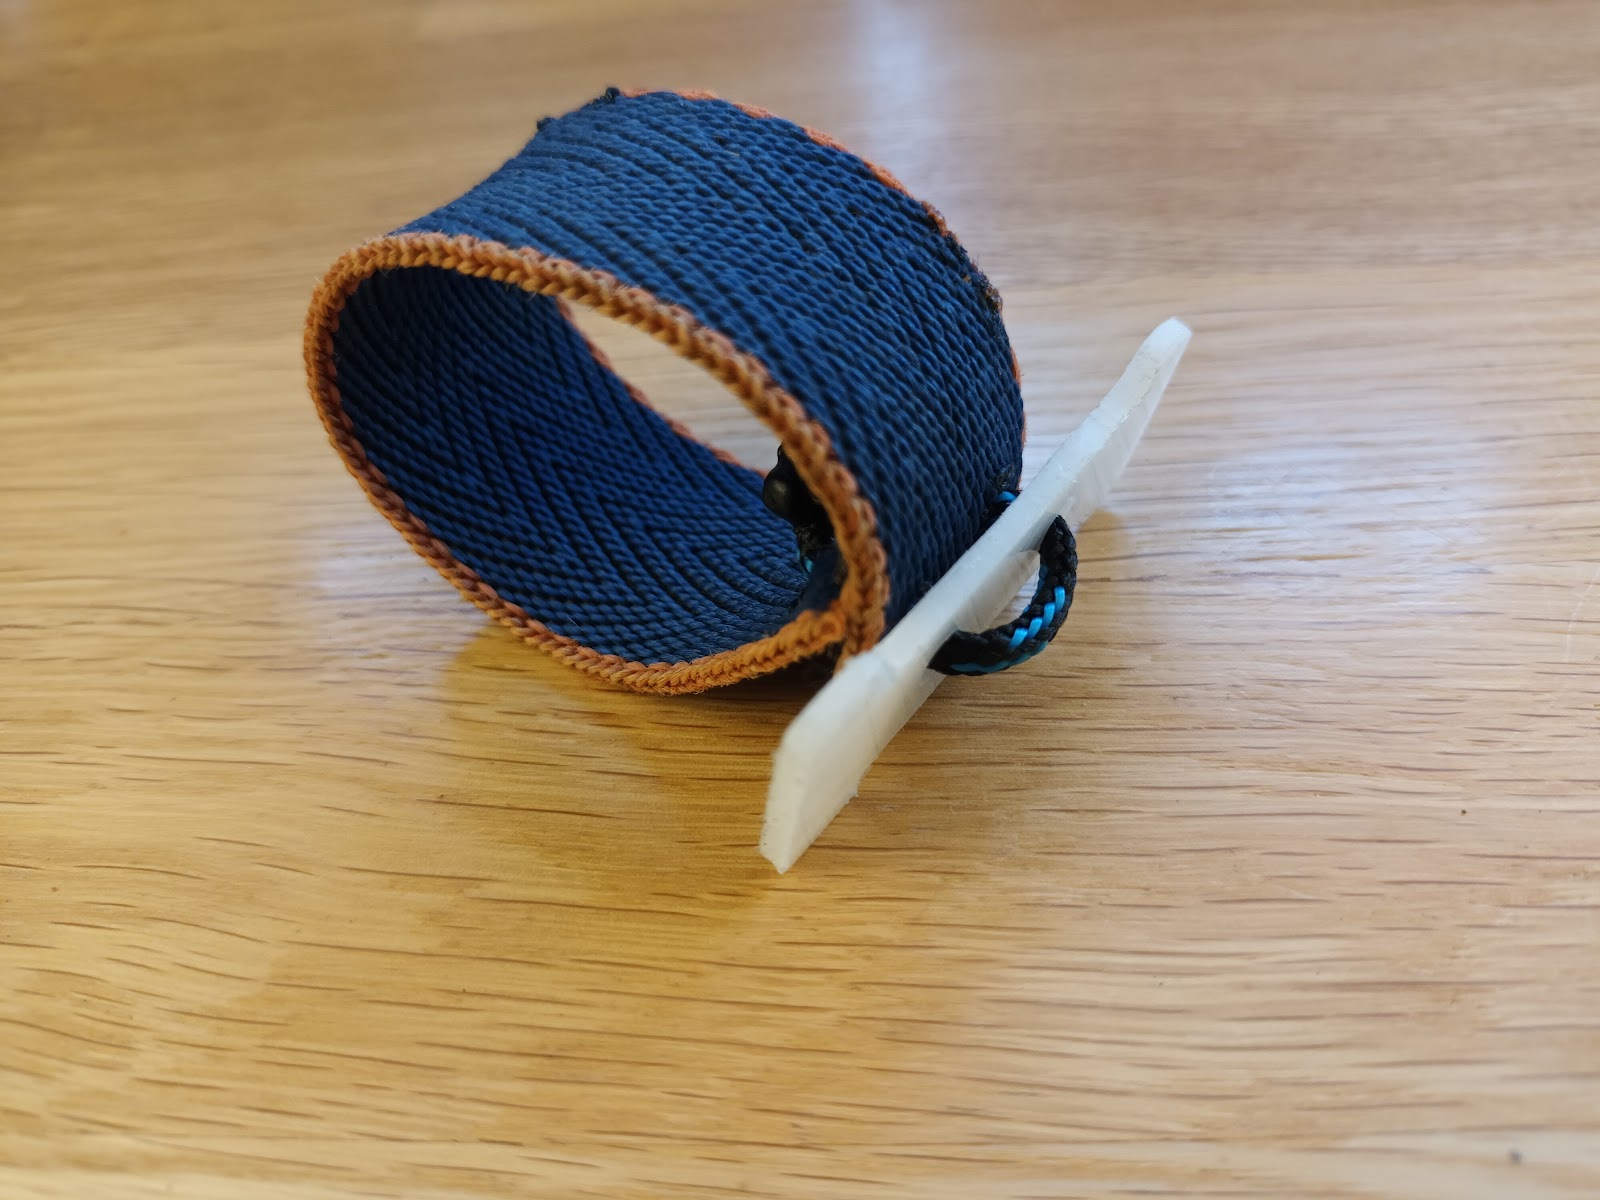
It is tricky to tie the webbing loop in place tightly, so I turned it inside-out:

I tied some sort of knot and then sealed the ends of the rope with a lighter to make sure it could not come undone and turned it the right way out again:


Comments
Post a Comment